You need a marker, a ruler and the block size. I need one 6" so i used my 6" ruler
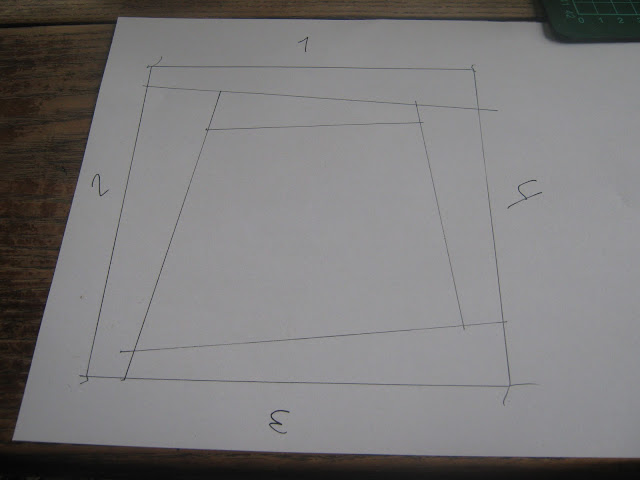
First draw up the block. Afterwards name the sides 1 to 4 (i did that later, but should have done it here)
Then make your first line on side one. I want an uneven look so i went for shabbiness remember that the outer 1/4 inch is seamallowance.
rotate clockwise to side 2 and make a line
then rotate clockwise to side 3
and then side four
then back to side 1
Keep going untill you have the whole block done
Name the centerpiece 1
Then you start at side 4 naming that piece 2
Now you rotate counterclockwise and name the piece on side 3 for 3
rotate counterclockwise again and mark side 2 ad number 4
Continue like that untill the whole block is numbered
And youre now good to go for piecing it! same procedure as in the scrap string quilt block :) http://omnipotentdaydreamer.blogspot.dk/2012/06/scrappy-string-quilt-tutorial.html


No comments:
Post a Comment